How to Create a Backup for Your Website
Important: This is the correct method for creating backups and we do not recommend any other...
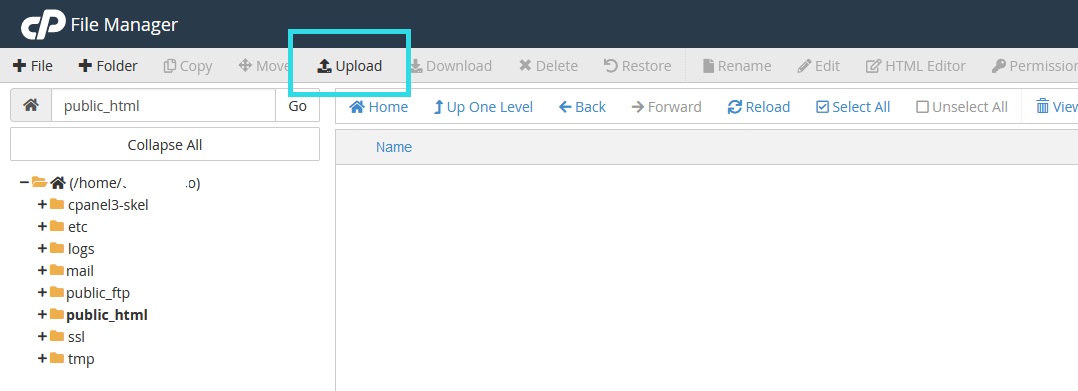
To upload and manage files in cPanel using File Manager, follow these steps:
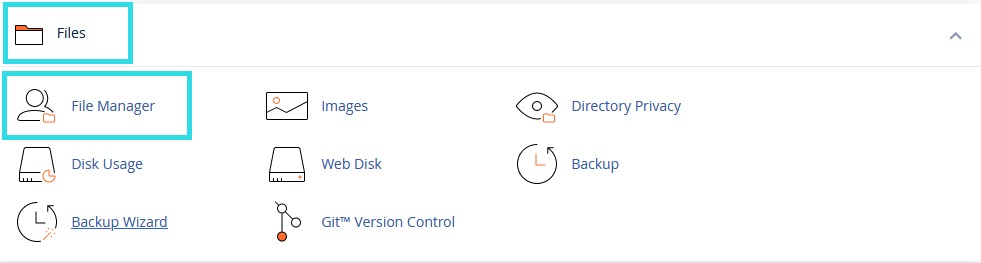
"public_html" for public files
You can use File Manager to:
"public_html" folder unless you know what you're doing. This may cause the website to malfunction. Make sure to place website content only inside the "public_html" folder.Important: This is the correct method for creating backups and we do not recommend any other...
To add a custom email account to Microsoft Outlook, follow these steps: Prerequisites First...
You can log into cPanel control panel in several ways. Follow these steps: Method One: Direct...
After creating the email account following the instructions, you can access and manage your email...
To protect a folder with a password through cPanel control panel, follow these steps: Step One:...